 |
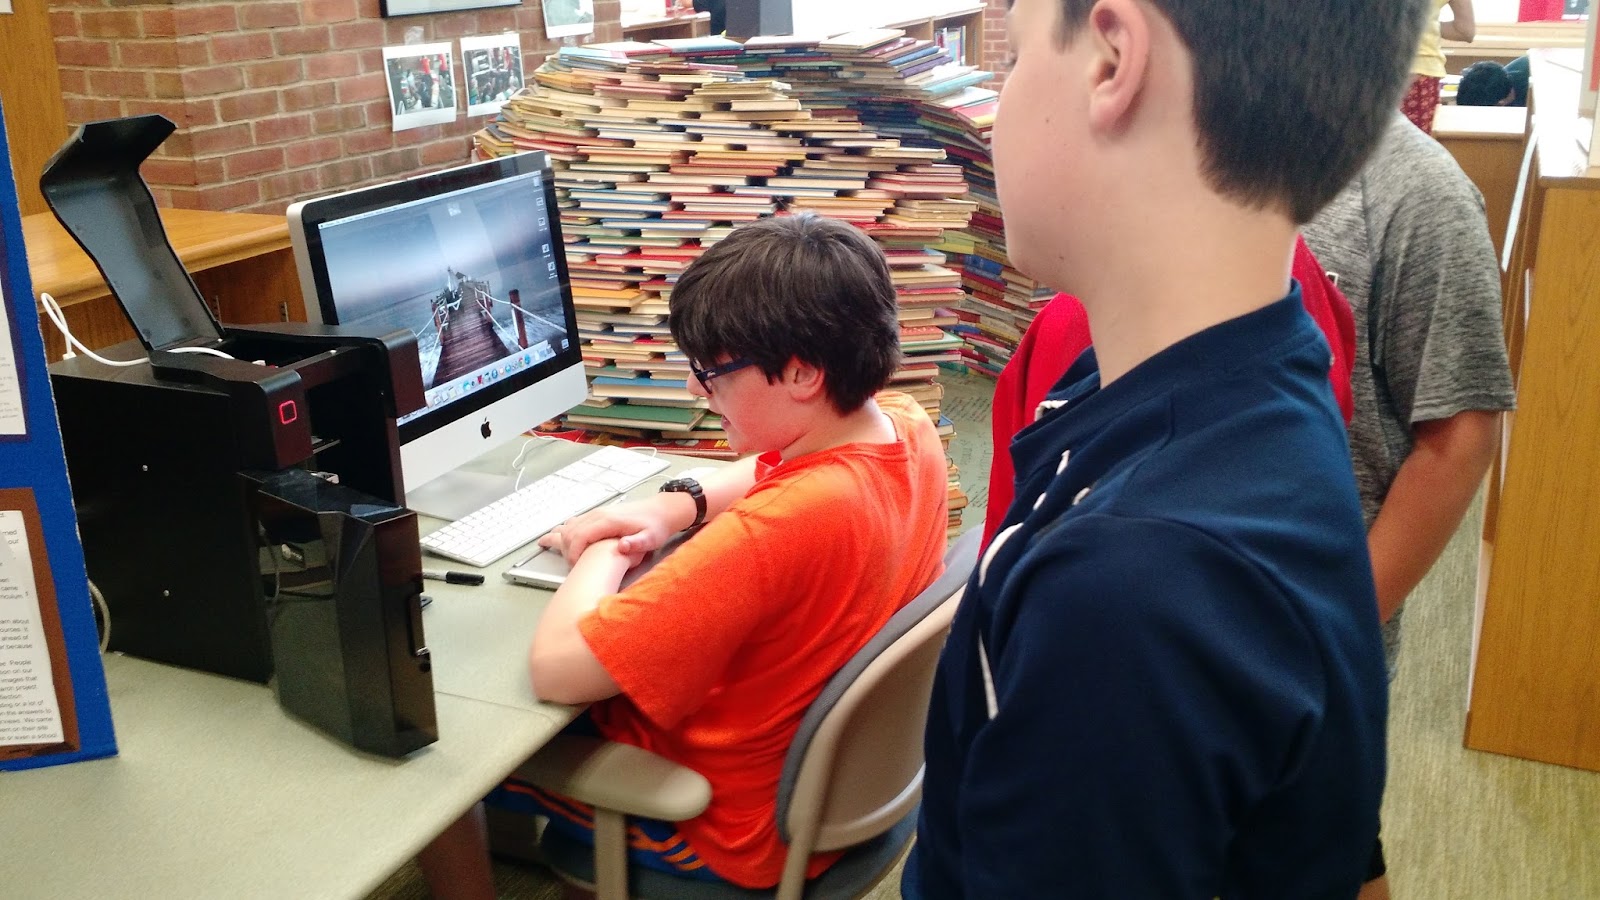
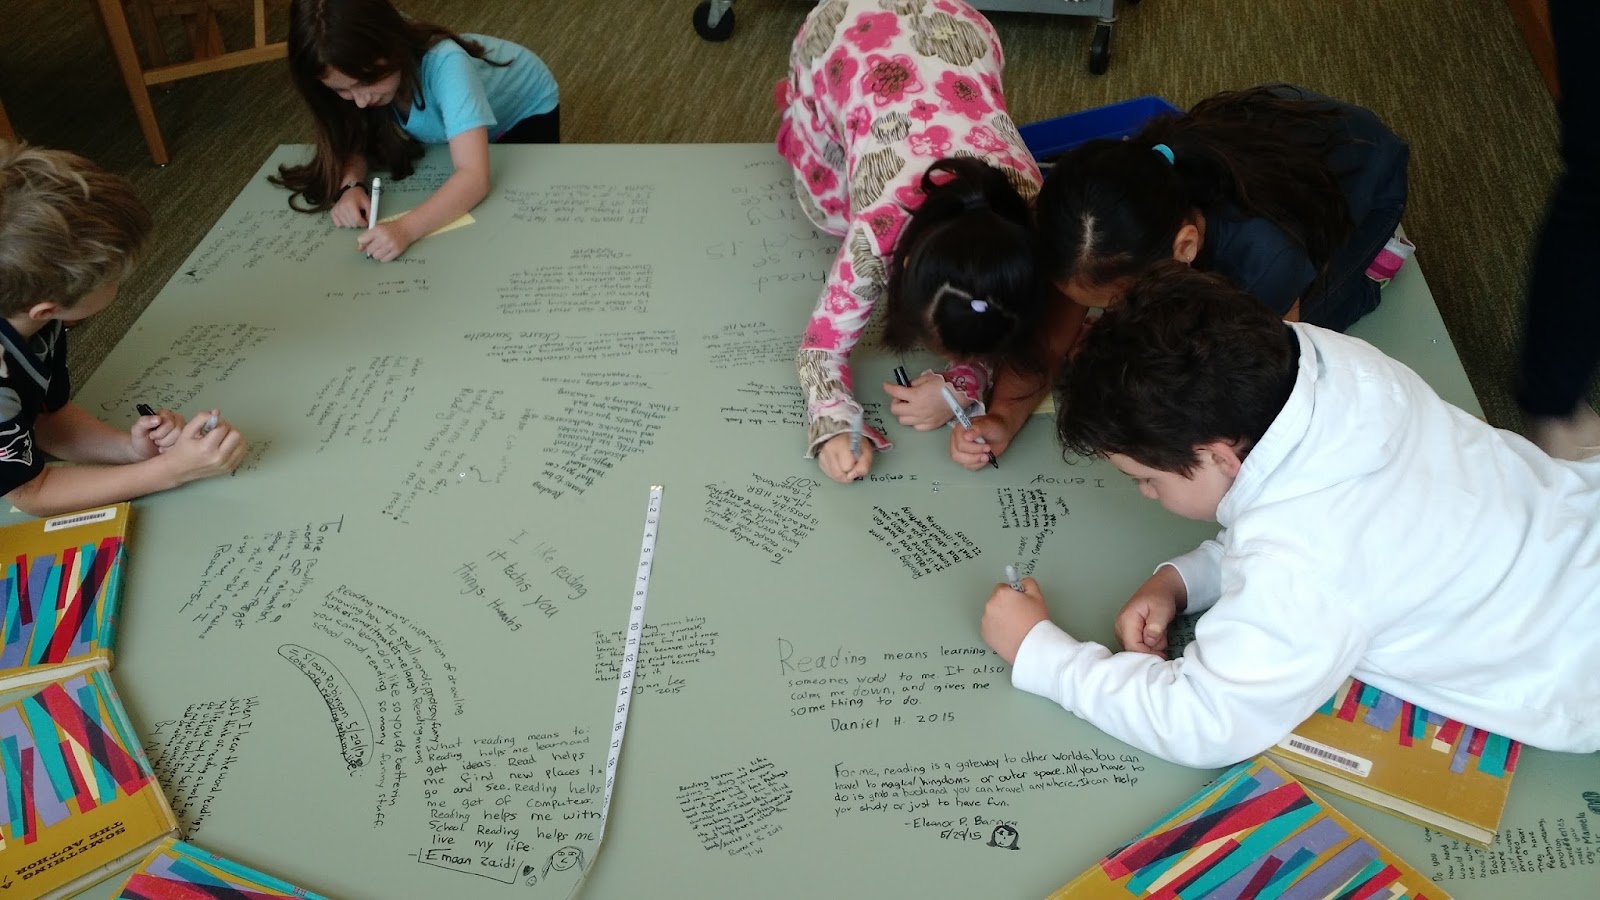
| The 3D printer farm at Georgia Tech's Invention Studio |
I learned about the Up! 3D printer at the Georgia Tech Invention Studio, where it was the printer of choice in their printer farm. If you are ever in Atlanta, I recommend calling the Studio and asking for a tour; it’s an inspiring space run by even more inspiring students. The University Lab Instructors were really positive about the Up! and we decided to give it a shot. We got ours a few days ago and this is my first reaction to the printer.
Set Up
 |
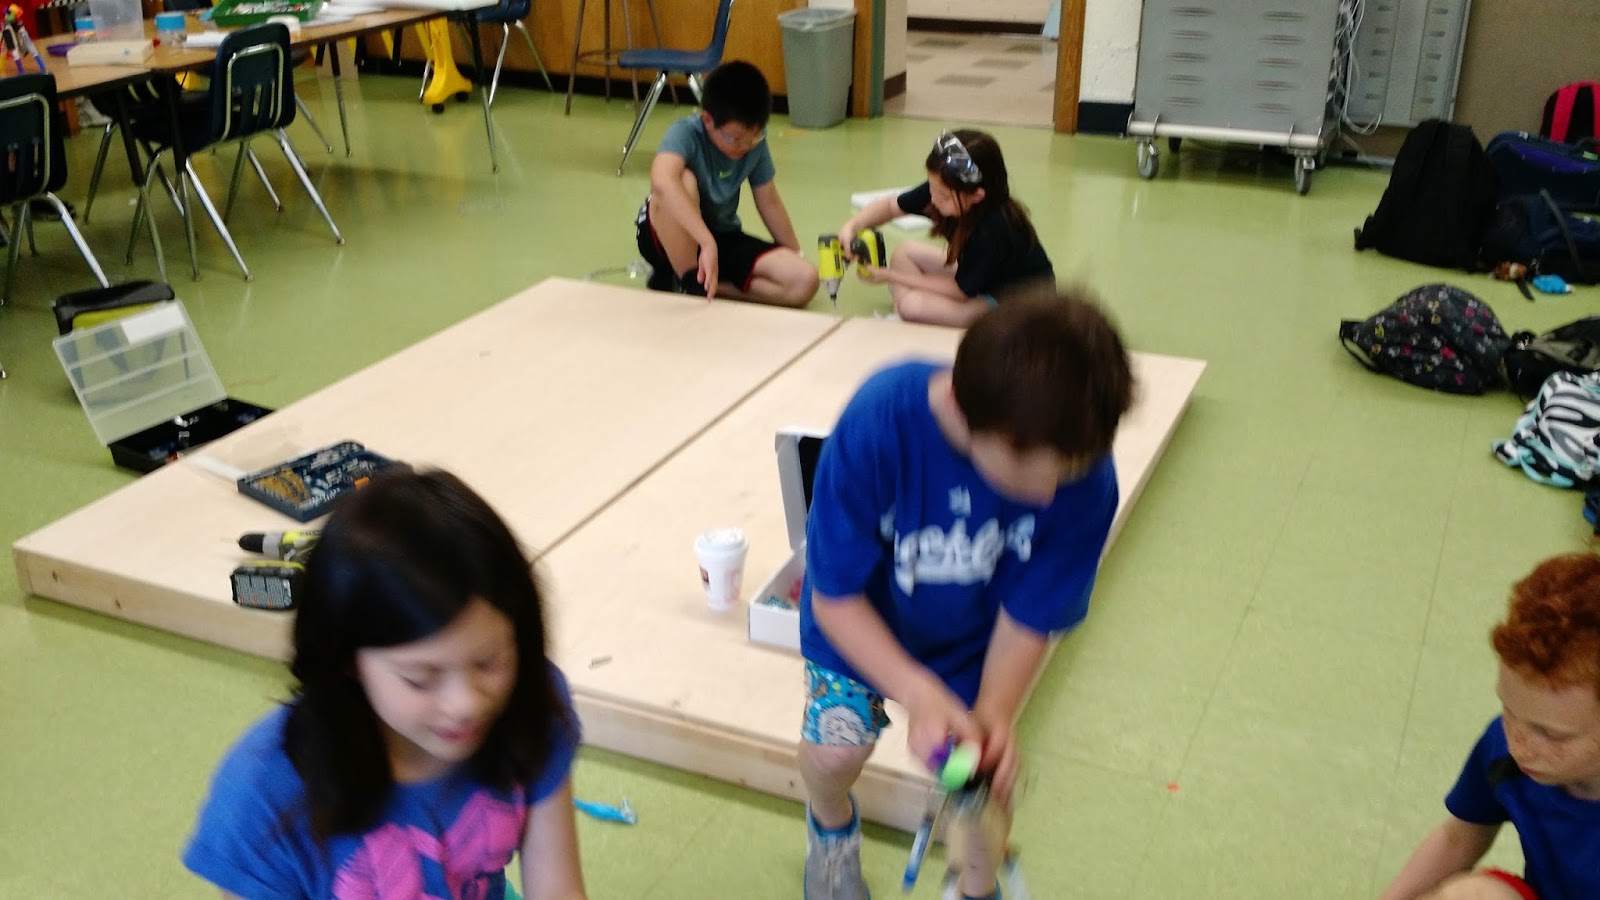
| Students unboxing the Up! printer |
The Up! comes nearly set up, which is welcome. A test print is waiting for you on the printing plate indicating that the printer had gone through some quality assurance before being shipped. Unfortunately, the quick start manual that comes with the box is really lackluster. It seems to have been poorly translated (TierTime Technology is a Chinese company) and there’s quite a bit that you have to figure out for yourself. Thankfully, the two students who were in charge of the set up are swift. I highly recommend going to the Up! support page to download the full manual straight away. Interestingly, the quick start manual does not mention the existence of the online manual or the need to download the software from the website. Once downloaded, the software installed easily on our iMac, but I’ve heard people have had problems on PCs.
The First Print
Feeding the filament into the extruder is simply done, I’d say it’s easier than our MakerBot. The extruder heats up quickly and starts to push out ABS filament in the same color of the test print that was on the plate. You initialize the printer by holding done the power button, causing some loud beeps to indicate the process is underway. It's so loud, in fact, that I flinched in our library, casting guilty glances at our librarian who was in the middle of a lesson. Calibrating the nozzle has been more difficult than it needed to be. The steep learning curve is a direct result of the lousy documentation. The quick start guide provides no direction and the manual doesn’t help much either. It is recommended to calibrate the nozzle 2mm from the plate but a visual reference would go a long way. If the nozzle is too far from the plate the model will not adhere well to the perforated plate. This will cause edge curling and the ultimate print failure on larger jobs. Through much trial and error, I’ve found that the nozzle has to be really tight to the plate - just a little more than the thickness of paper.
The plate is supposed to heat to help the model adhere. This is a great idea but it seems like the mechanism is not powerful enough to do this adequately. It often requires long preheat times (up to an hour) and even then it’s lacking. Users familiar with the printer often replace the stock heat switch with a more powerful one. I don’t want to wait an hour to print and I’m not sure that I want to upgrade the switch either. For now, I’ve found that Cube Glue works great to keep the models on the plate while printing.
Accessories
The Up! comes with a great set of tools to remove and clean finished prints. I really appreciated the quality gloves, scraper and exacto knife. Up! also provides Allen Keys and Nozzle Wrenches to help you repair or modify the printer. This sends the right message: take control of this printer - fix it, improve it, take it apart and put it back together again. I especially appreciate the downloadable spare parts library allowing users to print their own replacement parts.
Quality
The Up! does a nice job with it’s prints, producing smooth models with decent detail. The print area is on the small side, at 4.7 inches cubed. I like that the printer can use both ABS and PLA filament. Mechanically speaking, the printer is great. The nozzle seems to be maintenance free so far and the extruder heats quickly. The filament feeds easily. The plate heater is disappointing but at least there is a solution.
Conclusion
The Up! 3D printer is a good deal at $600 but there are some things to consider. Model curl and print failure can easily happen if you don’t have the nozzle calibrated correctly, which has a steep learning curve because of the documentation. You should also heat the plate or use 3D glue to keep the print from curling. If you don’t want to deal with the calibration you might want to look at the Up! Plus 2 because it levels and calibrates automatically. The Plus 2 costs twice as much at $1299.